Hey there, fellow printing enthusiasts! I’m super stoked to chat with you today about something really important when it comes to printing on inkjet canvas – how to adjust the saturation. As a supplier of top – notch inkjet canvas, I’ve seen it all, from amazing prints to some that just didn’t quite hit the mark. And let me tell you, getting the saturation right can make or break your print. Inkjet Canvas
Understanding Saturation in Printing
First things first, what the heck is saturation? Well, in simple terms, saturation refers to the intensity of a color. Think of it like when you’re mixing paint. If you add a whole bunch of pure color to a base, you get a highly saturated, vivid color. On the other hand, if you add a lot of white or gray to that color, it becomes less saturated, more muted.
In printing on inkjet canvas, saturation is crucial because it affects the overall look and feel of your print. When you’re printing a landscape photo with bright, vibrant skies and lush greenery, you want those colors to pop. That’s where proper saturation adjustment comes in.
Factors Affecting Saturation on Inkjet Canvas
Before we jump into how to adjust saturation, let’s take a quick look at the factors that can affect it.
Ink Quality
The type of ink you use plays a huge role. High – quality inks are formulated to provide better color reproduction and higher saturation. Cheaper inks might not be able to achieve the same level of vividness, and they could also fade over time. When you’re using our inkjet canvas, I highly recommend using premium inks. They’re like the perfect match for our canvas, ensuring that your colors stay bright and true.
Canvas Surface
The surface of the inkjet canvas matters big time. Different canvases have different absorbency levels. A canvas that absorbs ink too quickly might not allow the colors to spread out and become as saturated. On the other hand, if the canvas is too non – absorbent, the ink might sit on the surface and not properly bond with the fibers, resulting in color bleeding and a less – than – ideal saturation. Our inkjet canvas is specially designed to have just the right absorbency. It lets the ink soak in enough to create rich, saturated colors without any of that ugly bleeding.
Printer Settings
Your printer settings are another key factor. The printer’s color management system controls how much ink is applied to the canvas. The default settings might not always be the best for achieving the saturation you want. You might need to tweak the settings based on the type of image you’re printing and the specific characteristics of our inkjet canvas.
Steps to Adjust Saturation for Printing on Inkjet Canvas
Okay, now let’s get down to the nitty – gritty of adjusting saturation.
Prepare Your Image
Before you even think about printing, you need to prepare your image in a photo – editing software like Adobe Photoshop or GIMP. Open your image and look at the saturation levels. Most of these software programs have an "Image" menu where you can find options to adjust saturation.
Start by making small increments to the saturation. Don’t go overboard right away. You can always increase it more if needed, but it’s hard to bring it back down once you’ve made it too saturated. Look at the image carefully and see how the colors change. You want to find that sweet spot where the colors look vibrant but still natural.
Check Your Printer Profile
Your printer profile is basically a set of instructions that tells your printer how to reproduce colors. Some printers come with default profiles, but you might need to use a custom profile for our inkjet canvas. You can create a custom profile using a colorimeter, which is a device that measures the colors on your prints. Or, you can sometimes find pre – made profiles online that are specifically designed for our type of canvas.
Load the custom profile into your printer settings. This will help ensure that the colors you see on your screen are as close as possible to what gets printed on the canvas.
Print a Test Sample
Once you’ve adjusted the saturation in your photo – editing software and set the right printer profile, it’s time to print a test sample. Don’t waste a whole big piece of our awesome canvas just yet. Print a small section, maybe a few inches square. This will give you a good idea of how the colors are coming out.
Examine the test print carefully. Look for any areas where the colors are too bright or too dull. If the colors are too saturated, go back to your photo – editing software and decrease the saturation slightly. If they’re not saturated enough, increase it a bit and print another test sample. Keep doing this until you’re happy with the results.
Finalize and Print
Once you’re satisfied with the test print, you’re ready to print your final image. Make sure your canvas is loaded properly into the printer and that you’re using the appropriate paper type setting in your printer options.
Sit back and watch as your beautiful, high – saturation print comes to life on our inkjet canvas. The end result should be a print that has rich, vibrant colors that really draw the viewer in.
Troubleshooting Saturation Issues
Sometimes, even when you’ve followed all the steps, you might still run into some saturation issues. Let’s take a look at some common problems and how to fix them.
Colors Are Too Dull
If your colors are looking muted and dull, it could be because you’re using low – quality ink or the saturation settings in your photo – editing software are too low. First, make sure you’re using high – quality ink. Then, go back to your software and increase the saturation in small increments until you get the desired effect.
Colors Are Too Bright
On the flip side, if your colors are blindingly bright and look unnatural, you’ve probably overdone it with the saturation. Go back to your photo – editing software and reduce the saturation. You might also want to check your printer settings to make sure the ink density isn’t set too high.
Color Banding
Color banding is when you see horizontal or vertical lines of different color intensities in your print. This can be caused by a clogged printhead or incorrect printer settings. Try cleaning your printhead according to your printer’s instructions. You might also need to adjust the print quality settings in your printer to a higher level.
Why Choose Our Inkjet Canvas for Saturated Prints
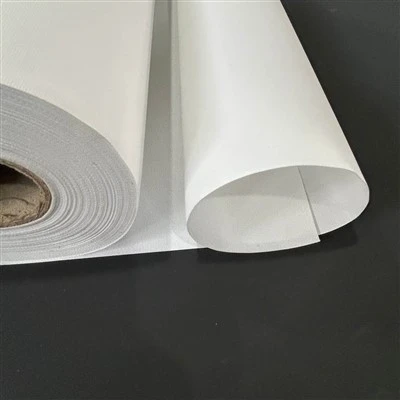
As a supplier of inkjet canvas, I can proudly say that our product is top – of the line when it comes to achieving high – saturation prints. Our canvas is made from high – quality materials that are designed to work perfectly with a wide range of inks. It has the ideal absorbency level, which means the ink spreads evenly and creates rich, saturated colors.
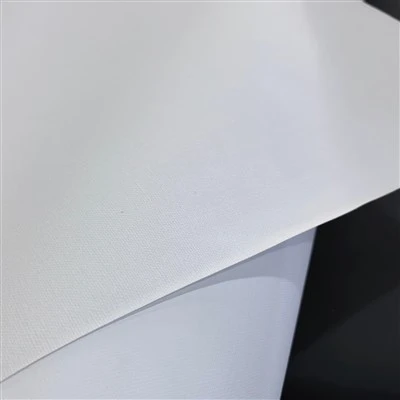
We also offer a variety of canvas finishes, from matte to glossy, so you can choose the one that best suits your project. Whether you’re printing fine art, photography, or even digital paintings, our inkjet canvas will help you achieve stunning results.
Let’s Connect!
Inkjet Canvas If you’re interested in purchasing our inkjet canvas for your next printing project, I’d love to hear from you. We’re always here to answer any questions you might have about saturation adjustment, canvas selection, or anything else related to printing on our products. Reach out to us to start a discussion about your needs and how our inkjet canvas can help you create amazing, high – saturation prints. We’re excited to work with you and take your printing to the next level!
References
- Photoshop Help and Tutorials. Adobe Inc.
- GIMP Official Documentation. The GIMP Team.
- Printer Manuals. Various printer manufacturers.
Lanxi Wenting Home Textiles Co., Ltd.
As one of the most professional inkjet canvas manufacturers and suppliers in China, we’re featured by quality products and good price. Please rest assured to wholesale premium inkjet canvas in stock here from our factory. Customized orders are welcome.
Address: No.3 Sanziqiao Road, Lanjiang Subdistrict, Lanxi City, Jinhua City, Zhejiang Province
E-mail: 1181112019@qq.com
WebSite: https://www.wentinghometextiles.com/
